Growing Potatoes in Buckets : Your Simple Guide to Homegrown Success
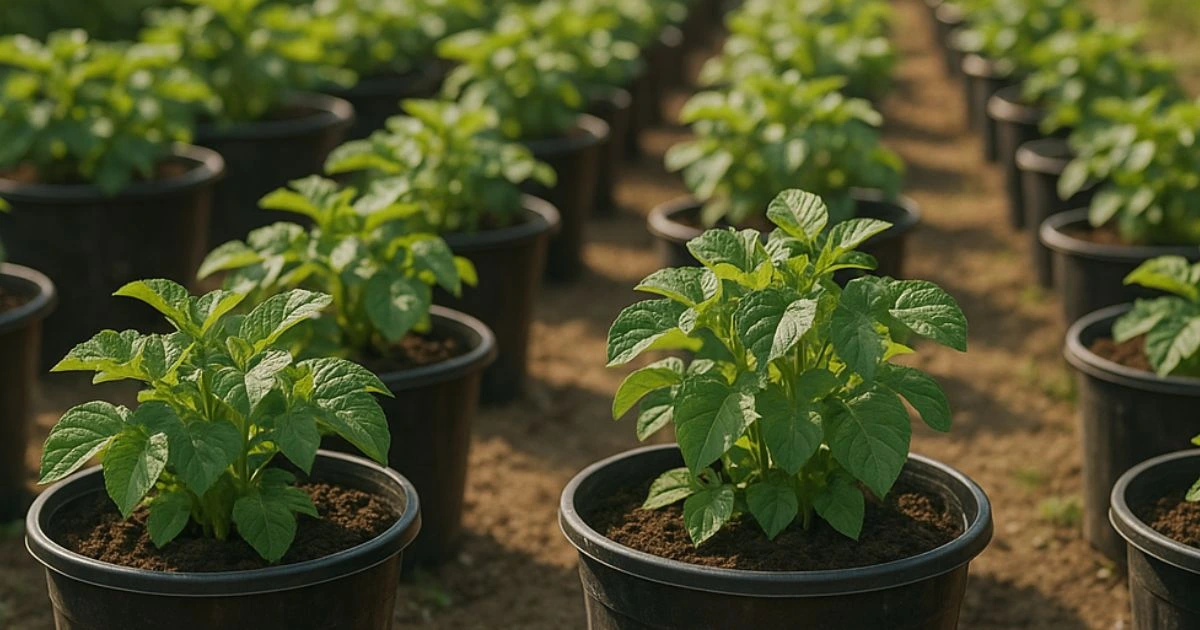
Imagine stepping onto your balcony or patio, brushing your hands over leafy green potato plants, and uncovering golden, homegrown spuds beneath the soil. That feeling—of pulling food you nurtured from the earth—is deeply satisfying. And here’s the best part: you don’t need a garden to do it. With just a few buckets, soil, and a bit of care, growing potatoes in buckets can turn even the smallest space into a thriving mini farm.
In this guide, you’ll learn everything you need to know about planting, caring for, and harvesting potatoes in buckets—from choosing the right variety to preventing common problems. By the end, you’ll be ready to enjoy your own fresh, homegrown harvest, no matter where you live.
Table of Contents
Why Grow Potatoes in Buckets
If you’ve ever thought that gardening requires a huge backyard, think again. Container potato gardening offers flexibility, convenience, and control. Growing potatoes in buckets lets you bring farming to your doorstep. Here are the main benefits:
- Space efficiency: You can grow a full crop in as little as a few square feet.
- Pest protection: Containers protect plants from soil-borne diseases and burrowing insects.
- Ease of harvest: Simply tip over the bucket to collect your potatoes—no digging required.
- Better soil control: You decide what goes into your soil mix, ensuring a healthy growing environment.
- Eco-friendly: Reusing old buckets or containers helps reduce waste.
According to horticultural experts at the Royal Horticultural Society, container growing allows gardeners to manage moisture and nutrients more efficiently than in-ground planting—leading to stronger, healthier yields.
Choosing the Right Bucket for Potatoes
Your choice of container plays a big role in the success of your crop. Potatoes need room to grow downward, so depth and drainage are crucial.
Best Bucket Options
You can use almost any bucket that holds soil and drains well:
- Plastic buckets: Affordable, lightweight, and easy to find.
- Metal buckets: Durable and attractive but can rust if exposed to water.
- Fabric grow bags: Excellent airflow and reusable, but they dry out faster.
- Recycled containers: Old tubs, barrels, or food-grade drums—just clean them well.
Bucket Size and Setup
- Minimum depth: 16–18 inches
- Width: 12–14 inches per plant
- Drainage: Drill at least five holes in the base for water escape
| Bucket Type | Advantages | Drawbacks |
|---|---|---|
| Plastic Bucket | Cheap, lightweight, portable | Can heat up in sun |
| Metal Bucket | Strong and stylish | May rust or overheat |
| Fabric Grow Bag | Great airflow, reusable | Needs more watering |
Choose a bucket that fits your space and climate. In hot regions, light-colored containers prevent soil from overheating.
Selecting the Right Potato Varieties
Some potato types thrive in compact containers while others need more room. Choosing the right variety makes a big difference.
Ideal Potato Types for Buckets
- Yukon Gold: Smooth, golden skin and creamy texture—great for mashing or roasting.
- Red Norland: Quick to mature and delicious when boiled.
- Charlotte: Reliable, early crop with buttery flavor.
- Fingerlings: Compact, small, and perfect for small containers.
Avoid maincrop varieties that require more space and time to mature.
Seed Potatoes vs. Store-Bought
Always use certified seed potatoes. They’re disease-free and bred for growing. Store-bought potatoes are often treated with chemicals to stop sprouting and won’t perform well.
Pre-Sprouting (Chitting) for a Head Start
Place your seed potatoes in a cool, bright place for two to three weeks until sprouts appear about an inch long. This step gives your plants a stronger start once they’re in the bucket.
Preparing the Ideal Soil Mix
Potatoes need loose, nutrient-rich, well-draining soil. Compacted or heavy soil restricts tuber growth and reduces yield.
Recommended Soil Blend
Mix the following ingredients for the perfect texture and nutrition balance:
- 60% quality potting mix
- 30% compost or aged manure
- 10% perlite or coco coir for airflow and moisture control
Avoid using garden soil alone—it can compact easily and suffocate roots.
Fertilizing Tips
Potatoes are heavy feeders, so regular feeding keeps them productive.
- Mix a slow-release organic fertilizer (10-10-10 NPK) into the soil before planting.
- Feed with compost tea or liquid seaweed every two to three weeks.
- Top-dress with compost halfway through the growing season.
Healthy soil means healthy, flavorful potatoes.
Step-by-Step: How to Grow Potatoes in Buckets
Here’s the fun part—putting everything together.
Step 1 – Prepare the Bucket
Add a one-inch layer of gravel or small stones to the bottom for drainage. Fill with four to six inches of your prepared soil mix.
Step 2 – Plant Your Seed Potatoes
Place two or three chitted potatoes on the soil with the eyes facing upward. Cover them with about four inches of soil and water lightly.
Step 3 – Light and Watering
Potatoes need six to eight hours of sunlight each day. Keep the soil evenly moist but never soggy. If your buckets are outdoors, water more often during hot or windy days.
Step 4 – Hilling (Adding Soil)
As the plants grow to about six to eight inches tall, add more soil until only the top leaves show. Repeat this process every two weeks. Hilling encourages more tubers to form along the buried stems.
Step 5 – Care and Monitoring
- Remove yellowing or damaged leaves.
- Watch for pests like aphids or mites.
- Rotate the buckets slightly every few days to ensure even sunlight.
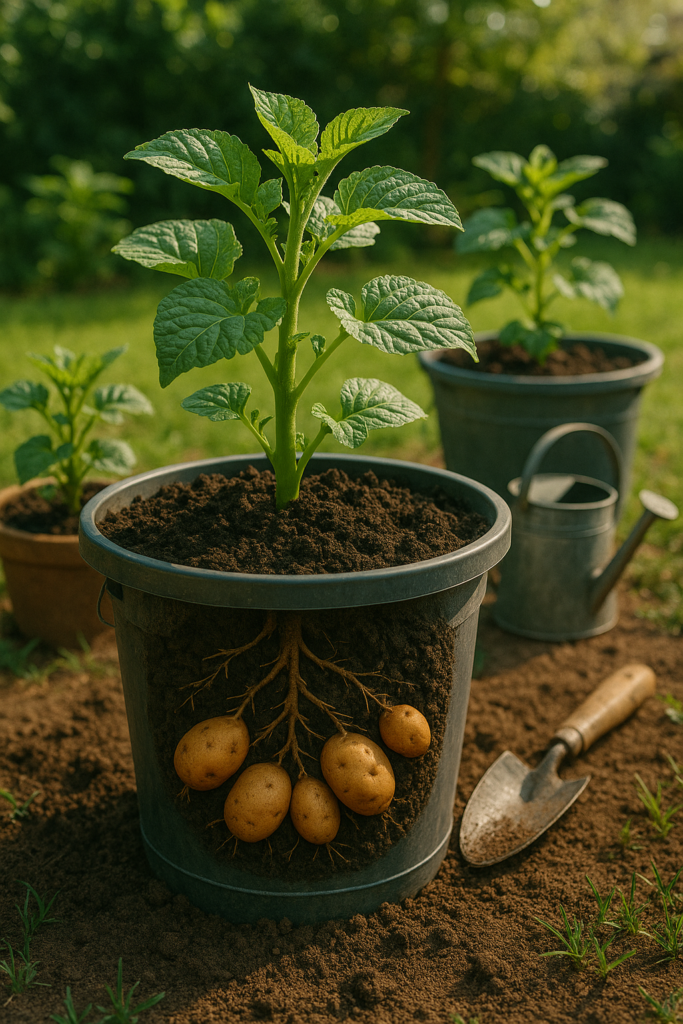
Step 6 – Harvesting Your Potatoes
When the foliage begins to yellow and die back, stop watering for about two weeks. Then, gently tip the bucket over onto a tarp or soft ground. Loosen the soil and collect your potatoes. Let them air-dry for a few hours before storing them in a cool, dark spot.
There’s nothing quite like the moment you uncover your first homegrown potato—it’s pure satisfaction.
Common Problems and Simple Solutions
Even the best gardeners encounter issues. The key is to catch them early.
Yellow Leaves
Cause: Overwatering or lack of nutrients.
Fix: Reduce watering and apply an organic fertilizer.
Rotting Tubers
Cause: Waterlogged soil.
Fix: Ensure proper drainage and water only when the top inch of soil feels dry.
Pests
Common offenders: Aphids, spider mites, and potato beetles.
Fix: Spray neem oil or use insecticidal soap weekly. Encourage beneficial insects like ladybugs.
Poor Growth
Cause: Low sunlight or poor soil.
Fix: Move the buckets to a sunnier location and refresh the soil with compost.
With regular attention, most problems can be corrected quickly, ensuring a steady, healthy crop.
Enjoying the Harvest: Simple Potato Recipes
After weeks of nurturing your plants, it’s time for the best part—eating them! Here’s an easy recipe to enjoy your homegrown spuds.
Garlic Butter Baby Potatoes
| Ingredient | Quantity |
|---|---|
| Small Potatoes | 1 lb |
| Butter | 2 tbsp |
| Garlic (minced) | 3 cloves |
| Fresh Parsley | 1 tbsp |
| Salt & Pepper | To taste |
Instructions
- Boil the potatoes until tender, then drain.
- Melt butter in a pan and sauté the garlic until fragrant.
- Toss the potatoes in the garlic butter, sprinkle with parsley, salt, and pepper, and serve hot.
Other Serving Ideas
- Roast your potatoes with olive oil, rosemary, and sea salt.
- Make a creamy potato salad with herbs and lemon dressing.
- Pan-fry baby potatoes for a crispy, golden snack.
Each dish tastes even better knowing you grew the key ingredient yourself.
FAQs About Growing Potatoes in Buckets
How many potatoes can I grow in one bucket?
Plant two to three seed potatoes in a 10–15-gallon bucket for best results.
Do potatoes grow well in buckets?
Yes. Buckets provide great drainage and soil control, making them perfect for small spaces.
How long does it take to grow potatoes in buckets?
Early types mature in 70–90 days; later varieties may take up to 110 days.
What kind of soil is best for potatoes?
Use a loose, well-draining mix of potting soil, compost, and perlite or coco coir.
Can I reuse my soil next season?
It’s best to refresh or replace it with new compost to prevent disease buildup and nutrient loss.
Conclusion: Start Growing Potatoes in Buckets Today
You don’t need a field to grow your own food. With a few buckets, a bit of soil, and some patience, you can experience the joy of harvesting your own potatoes—right from your balcony or backyard. Each sprout and every leaf is proof of what you can create with a little effort and care.
So don’t wait. Grab a couple of buckets, prep your soil, and plant your seed potatoes today. In just a few months, you’ll be digging into your very own harvest—fresh, flavorful, and entirely yours.
Ready to start? Your homegrown potato journey begins with one bucket. Let it grow.