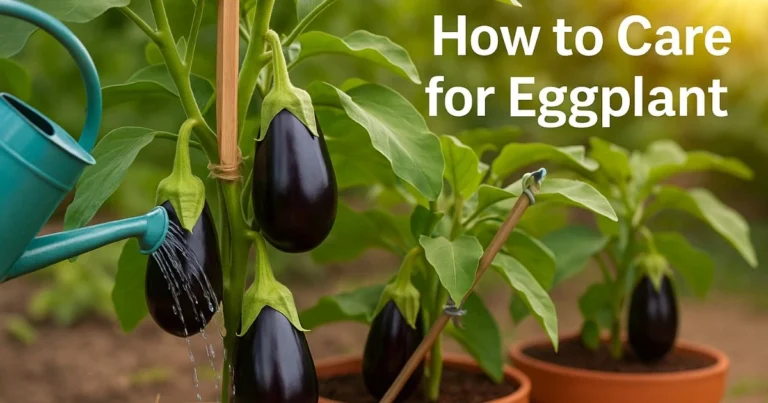
7 Steps to Success with Indoor Grown Vegetables: Your Ultimate Home Harvest Guide
Imagine for a moment that it is the middle of January. The world outside your window is locked in a monochrome palette of grey slush and white snow. The wind is howling against the glass, and the produce aisle at the local grocery store offers nothing but pale, rock-hard tomatoes that taste more like cardboard than fruit.
Now, shift your perspective. Picture yourself walking into your living room. The air is different here—richer, humid, and carrying the faint, earthy scent of damp soil and crushed tomato leaves. You reach out to a pot on your windowsill and snap off a few sprigs of vibrant basil, or perhaps you harvest a bowl of crisp, tender lettuce leaves that were growing while you slept.
This isn’t a fantasy reserved for people with heated greenhouses or sprawling estates. This can be your reality.
Cultivating indoor grown vegetables is a profound act of defiance against the seasons. It bridges the gap between the food on your plate and the source it came from, a connection often lost in our modern, pre-packaged world. Whether you live in a studio apartment in the city or a suburban home with limited yard space, growing food inside is not just about saving a few dollars on herbs. It is about mental clarity, improving your indoor air quality, and the primal satisfaction of nurturing life.
You might feel intimidated, thinking you lack a “green thumb.” But the truth is, plants want to grow. They just need you to replicate the conditions they love. This guide will walk you through exactly how to turn your indoor space into a lush, edible sanctuary.
Table of Contents
1. Assessing Your Space: Light and Temperature
Before you buy a single packet of seeds or a bag of soil, you must audit your environment. The biggest mistake beginners make is treating indoor gardening the same as outdoor gardening. When you bring nature inside, you become the master of the climate.
The Light Reality
Your eyes are incredible at adapting to low light. A room that feels “bright” to you might be essentially dark to a pepper plant. Plants measure light in terms of energy for photosynthesis, and the difference between outdoors and indoors is drastic.
To succeed with indoor grown vegetables, you need to identify your “Sun Zones”:
- South-Facing Windows: These are the gold standard. They provide the most intense light for the longest duration. If you hope to grow fruiting crops like tomatoes or peppers without artificial lights, this is likely the only place they will survive.
- East-Facing Windows: These offer cool, gentle morning sun. This is the perfect spot for leafy greens and herbs that might scorch under the intense afternoon heat.
- West-Facing Windows: You get the intense afternoon sun here, but for shorter periods. This can work for many plants, but be careful of overheating in the summer.
- North-Facing Windows: These provide low, indirect light. Very few edible plants will thrive here without help. If this is your only option, you will almost certainly need grow lights.
For a deeper dive into light intensity and plant needs, the University of Missouri Extension offers excellent data on lighting requirements for indoor gardening.
Temperature and Micro-Climates
Most vegetables are comfortable in the same temperatures you are—roughly 65°F to 75°F (18°C–24°C). However, your home is full of invisible “micro-climates” that can make or break your harvest.
- The Cold Draft: A windowsill in winter can be 10 to 15 degrees colder than the ambient room temperature. If your leaves are touching the freezing glass, they will die.
- The Heat Blast: Avoid placing plants directly in the line of HVAC vents, radiators, or fireplaces. Hot, dry air will dehydrate your plants faster than the roots can drink, leading to “crispy” leaves.
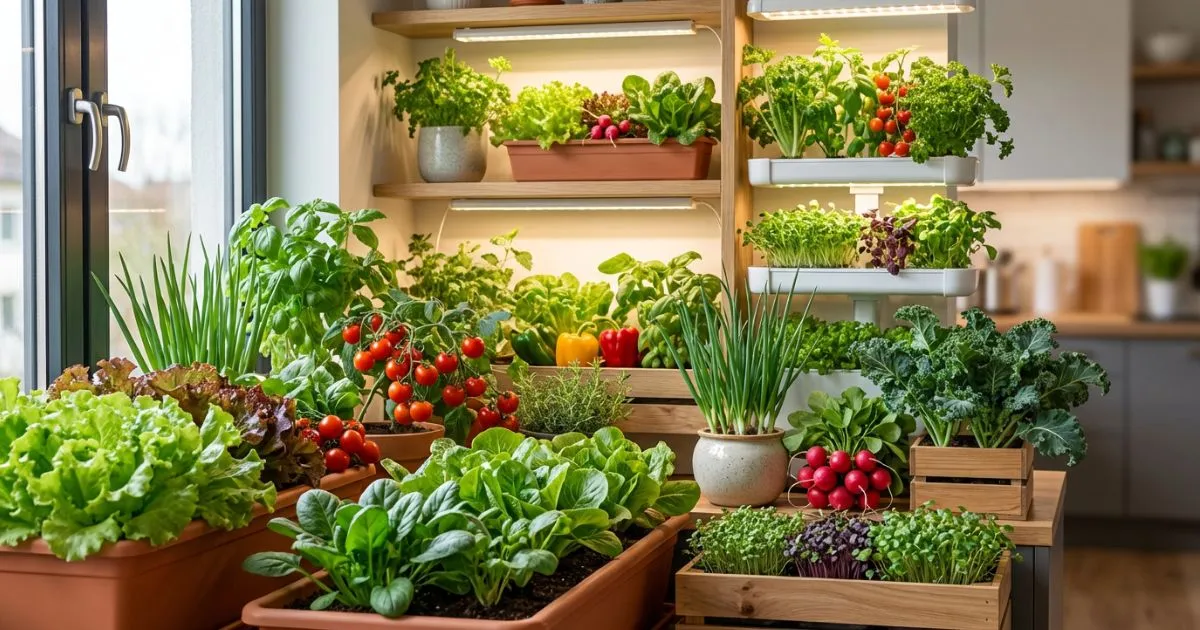
2. Choosing the Best Varieties for Indoor Grown Vegetables
Not all plants are created equal when it comes to indoor life. Trying to grow a massive beefsteak tomato vine inside is a recipe for heartbreak. To ensure you succeed, you need to select varieties that are compact, shade-tolerant, and quick to mature.
The Easiest Starters: Leafy Greens
If this is your first time experimenting with indoor grown vegetables, start here. These plants generally tolerate lower light levels and have shallow root systems, making them perfect for smaller containers.
- Lettuce: Look for “loose-leaf” varieties like Black Seeded Simpson or Red Sails. You can harvest the outer leaves while the center keeps growing (a technique called “cut-and-come-again”).
- Spinach: It actually prefers cooler temperatures, making it ideal for that drafty spare room.
- Arugula: Fast-growing and peppery, it adds a gourmet touch to salads that you usually pay a premium for at the store.
- Kale: Harvest it as “baby greens” for salads rather than waiting for massive mature leaves.
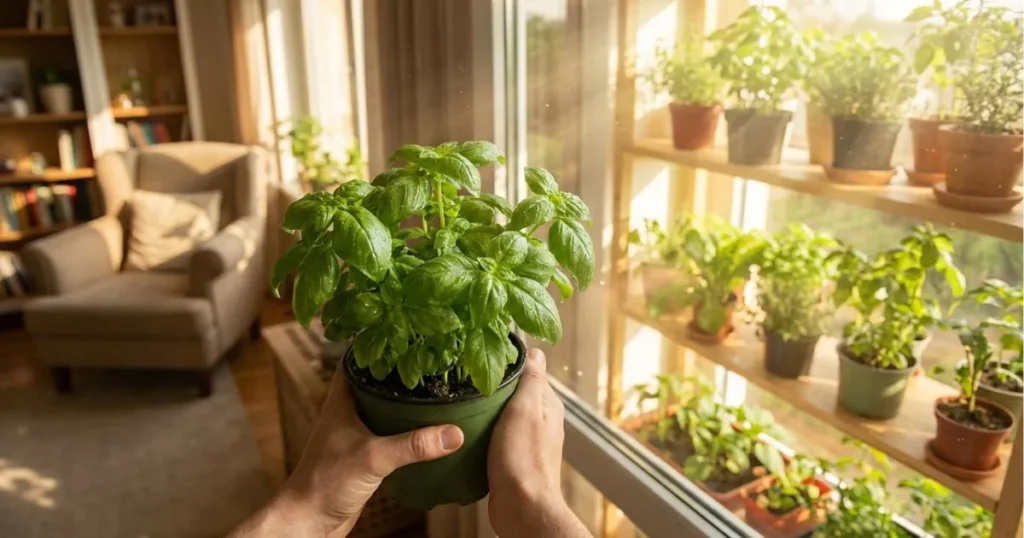
The Aromatics: Herbs
Herbs offer the highest Return on Investment (ROI) per square inch. A bunch of basil costs $4 at the store and rots in three days; a basil plant costs the same and produces for months.
- Basil: Needs heat and bright light.
- Mint: Incredibly hardy (and invasive). Always keep it in its own pot, or it will take over your other plants.
- Chives: A perennial that will grow back endlessly after you snip the tops for your baked potatoes.
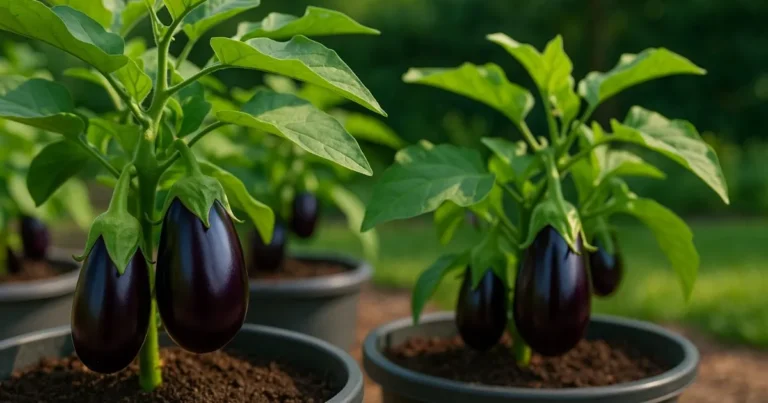
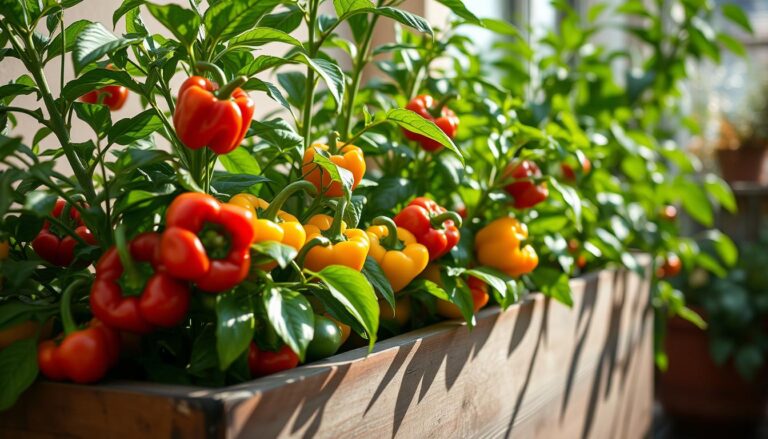
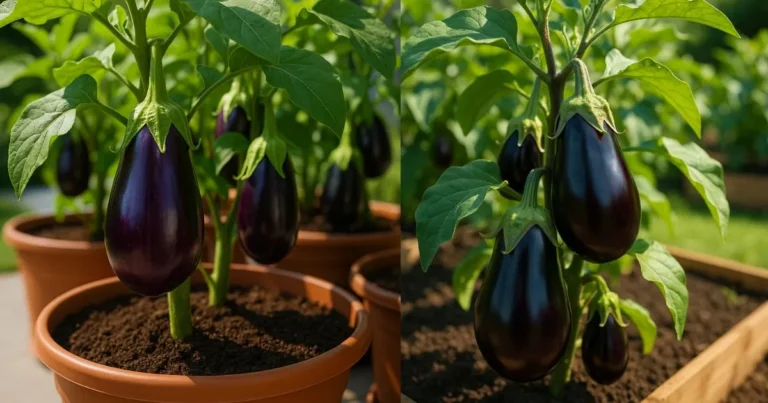
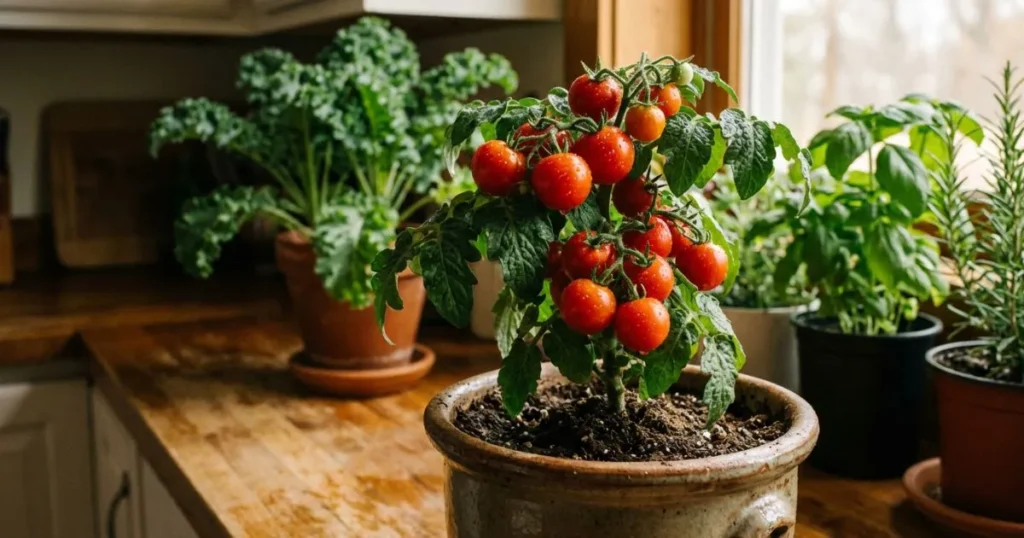
The Challenge Crops: Fruiting Plants
These require more patience, more soil depth, and usually supplemental lighting.
- Tomatoes: You must look for specific keywords on the seed packet: “Determinate,” “Bush,” “Patio,” or “Dwarf.” Varieties like Tiny Tim or Red Robin are bred to stay under 18 inches tall.
- Peppers: Chili peppers (like Thai chilies or Jalapeños) adapt surprisingly well indoors and are technically perennials.
- Radishes: The exception to the “difficult” rule. Root vegetables usually need depth, but radishes are ready in 25 days and can grow in shallow trays.
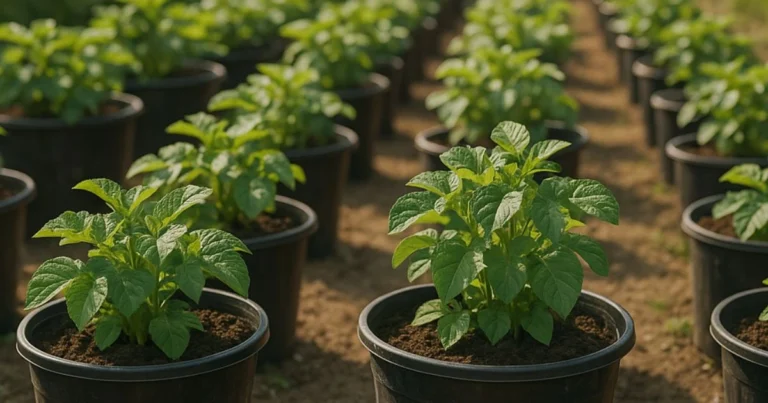
3. The Foundation: Soil and Container Selection
This is where many new indoor gardeners fail. They go outside, dig up some dirt from the yard, put it in a pot, and wonder why their plants die.
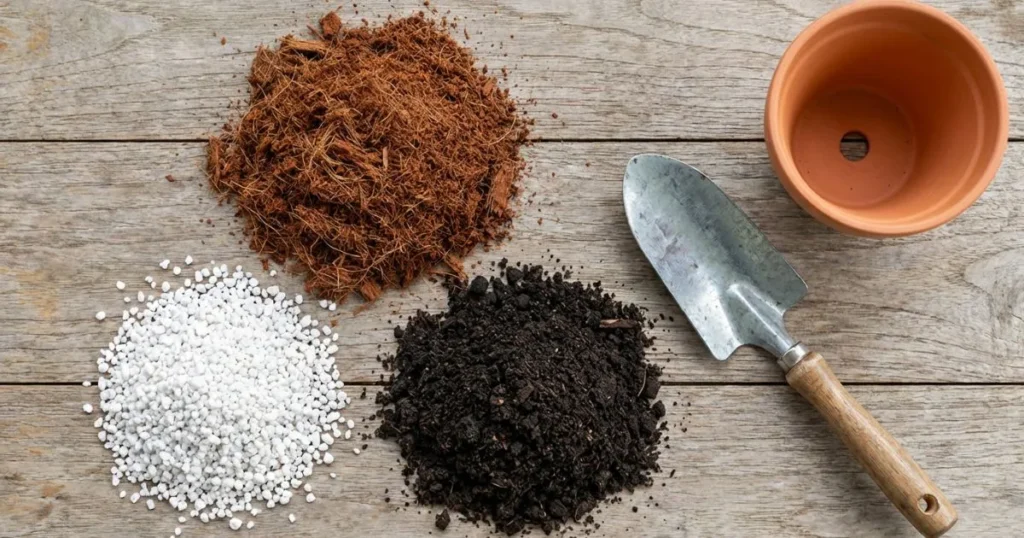
The “Dirt” Myth
Never use garden soil for indoor grown vegetables.
Garden soil is too heavy. In the ground, worms and weather keep it aerated. In a pot, it collapses into a concrete-like brick that suffocates roots. Furthermore, garden soil is teeming with insect eggs, bacteria, and fungi that you do not want to introduce into your living room.
You need a soilless potting mix. It should be fluffy, sterile, and able to hold moisture without becoming soggy. While you can buy quality organic potting mix, making your own is cheaper and ensures the perfect environment for your crops.
DIY Indoor Potting Mix Recipe
| Ingredient | Amount/Ratio | Function |
|---|---|---|
| Coco Coir or Peat Moss | 2 Parts | The base. It retains moisture like a sponge while resisting compaction. |
| Perlite or Vermiculite | 1 Part | These white volcanic rocks create air pockets, ensuring drainage and root oxygenation. |
| Compost / Worm Castings | 1 Part | Provides the nutrient base and beneficial microbes your plants need. |
| Organic Fertilizer | 2 tbsp per gallon | A slow-release dry fertilizer provides the initial boost for seedlings. |
The Golden Rule of Containers
You can use almost anything as a planter—from vintage tea tins to plastic yogurt tubs—provided it meets one non-negotiable criterion: It must have drainage holes.
If water cannot escape the bottom of the pot, it will pool around the roots. This stagnant water creates an anaerobic environment that leads to root rot. If you love a decorative pot that lacks holes, use it as a “cachepot” (a cover) and slip a plastic nursery pot with holes inside it.
4. Lighting the Way: Grow Lights Explained
We touched on windows earlier, but let’s be realistic: In December, the sun is weak, and the days are short. Photosynthesis is the engine that drives plant growth. If the engine doesn’t get fuel (light), the car doesn’t move.
Most fruiting indoor grown vegetables need 14 to 16 hours of light a day to produce a harvest. Even a South-facing window in winter might only provide 9 hours of weak light. This is where grow lights become your best friend.
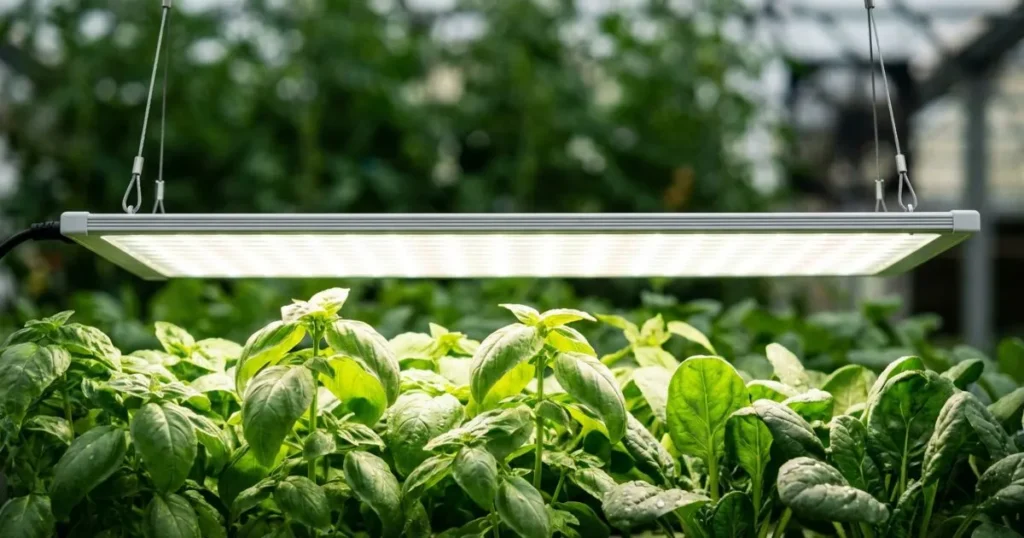
Choosing the Right Light
You don’t need the purple “blurple” lights of the past that hurt your eyes.
- Full Spectrum LED: These are the modern standard. They appear white to the human eye but contain the full range of red and blue light plants need. They are energy-efficient and run cool.
- Fluorescent (T5/T8): Good for starting seeds and growing leafy greens, but they often lack the intensity (“punch”) needed to grow fat tomatoes or peppers.
Placement and Timing
- Distance: Keep your lights close! LEDs should be 6–12 inches above the top of the plants. If the light is too high, the energy dissipates before it hits the leaves, causing your plants to stretch and become “leggy.”
- Duration: Plants need sleep too. Darkness is when they respire and process the energy they gathered during the day. Use a simple mechanical timer to run your lights for 12-16 hours a day, then turn them off.
For detailed reviews on the safest and most efficient lights, check out resources like Gardeners World or specialized tech blogs.
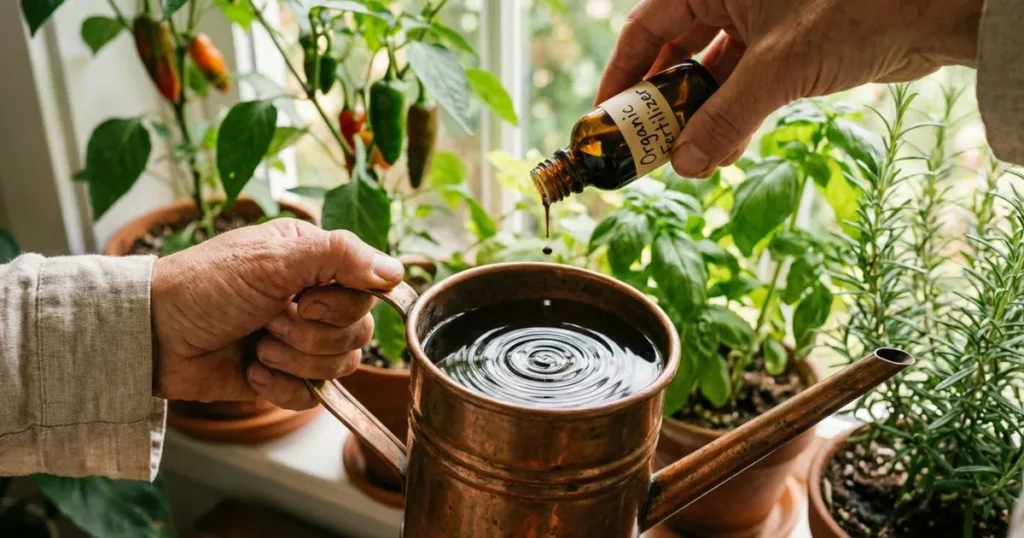
5. Care and Maintenance: Water and Nutrients
In an outdoor garden, nature handles some of the watering, and the soil ecosystem regenerates nutrients. Indoors, you are the god of this micro-universe. Everything the plant gets, you must provide.
The Art of Watering
Overwatering is the number one killer of indoor grown vegetables. It’s easy to love them to death.
- The Finger Test: Before you grab the watering can, stick your finger an inch into the soil. If it feels damp, wait. If it feels dry, water.
- Bottom Watering: This is a pro technique. Instead of pouring water on top, place your pot in a tray or bowl of water. Let the soil wick the moisture up through the drainage holes for 30 minutes. This encourages deep root growth and keeps the surface of the soil dry, which discourages pests.
Feeding Your Crops
Potting mix is sterile (mostly). Once your plants use up the compost you added in the initial mix (usually after 4-6 weeks), they will starve.
- Nitrogen (N): For leafy greens. It promotes leaf growth.
- Phosphorus (P) and Potassium (K): For fruiting crops like tomatoes. It promotes flowering and root stability.
Use a liquid organic fertilizer, such as fish emulsion or liquid kelp, every two weeks. Because the plant is in a pot, nutrients wash out with every watering, so consistent feeding is crucial.
6. Pollination and Pest Management
You have the light, the soil, and the water. But there are no bees in your living room (hopefully). If you are growing leafy greens, this doesn’t matter. But if you are growing fruiting plants, you have to do the work of the insects.
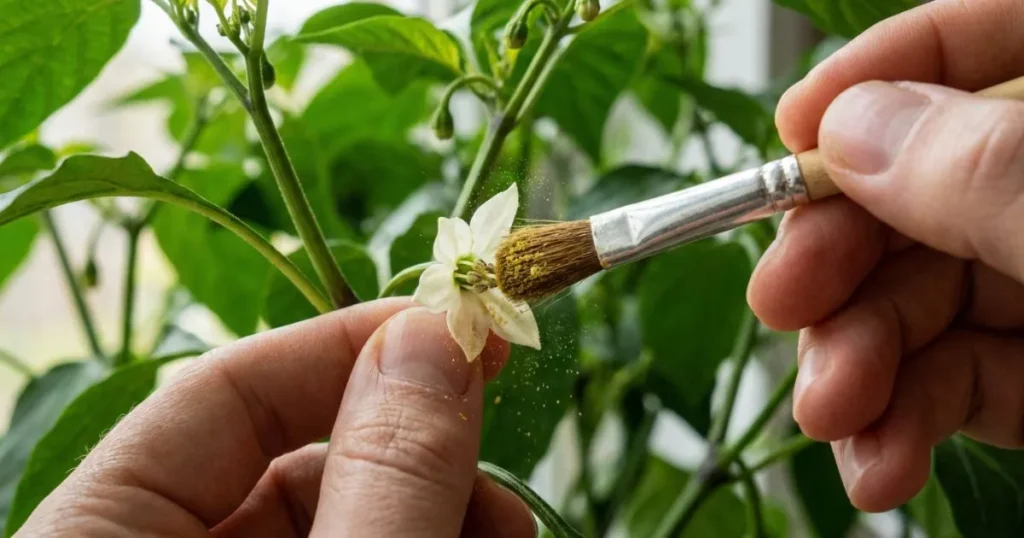
Be the Bee
Most vegetables like tomatoes and peppers are “self-fertile,” meaning the pollen just needs to move from one part of the flower to another.
- The Shake Method: Gently shake the stems of your tomato plants once a day while they are flowering. This mimics the vibration of a bee’s wings and releases the pollen.
- The Brush Method: For higher success rates, take a small, soft paintbrush or a cotton swab. Twirl it gently inside one flower, then move to the next. Do this daily when flowers are open.
Managing Unwanted Guests
It is a myth that indoor gardens are pest-free. Without natural predators like ladybugs, pest populations can explode.
- Fungus Gnats: Tiny black flies that buzz around the soil. They love wet dirt. Solution: Let the soil dry out more between waterings and use yellow sticky traps.
- Spider Mites: They look like dust and leave fine webbing. They love dry air. Solution: Increase humidity and wash plant leaves in the sink.
Pro Tip: Always quarantine a new plant for two weeks before putting it next to your established garden to ensure it isn’t a “Trojan Horse” carrying pests.
FAQ: Common Questions About Indoor Grown Vegetables
Q: Do indoor grown vegetables taste different thani outdoor ones?
Often, they taste even better. This is because you are harvesting them at the absolute peak of ripeness, seconds before eating them. However, the sugar content (Brix) in some fruits like tomatoes might be slightly lower than outdoor versions if your grow lights aren’t intense enough, but they will still vastly outperform grocery store produce.
Q: Is it expensive to start growing vegetables indoors?
It is very scalable. You can start for practically free using recycled containers, a sunny windowsill, and a $3 packet of seeds. As you get more serious, investing in a $40 LED grow light will significantly increase your yield, but the entry barrier is very low.
Q: What is the fastest vegetable to grow indoors?
If you are impatient or gardening with children, try Radishes or Microgreens. Radishes can go from seed to harvest in as little as 25 days. Microgreens (seedlings harvested when they are 2 inches tall) are ready in 10-14 days.
Q: Can I use regular light bulbs for indoor grown vegetables?
Generally, no. Standard incandescent bulbs produce too much heat and not enough light energy. Standard household LED bulbs are better, but they often lack the full spectrum required for photosynthesis. While you can grow low-light houseplants with regular bulbs, vegetables require the intensity of specific grow lights to thrive.
Conclusion: Your Harvest Awaits
Mastering the art of indoor grown vegetables is a journey of patience and experimentation. You might kill a few basil plants or drown a cactus along the way, and that is okay. It is part of the tuition you pay to Mother Nature.
But do not let the fear of failure stop you. There is a unique magic in the morning ritual of checking your plants, seeing a new leaf unfurl, or spotting the first yellow flower on a tomato plant while snow falls outside. It changes your relationship with your home and your food.
Start small. Perhaps begin with a single pot of herbs on a kitchen sill or a tray of microgreens. You don’t need a farm to be a farmer; you just need a pot, a seed, and a little bit of light.
Your harvest is waiting. Why not buy your first packet of seeds today?